
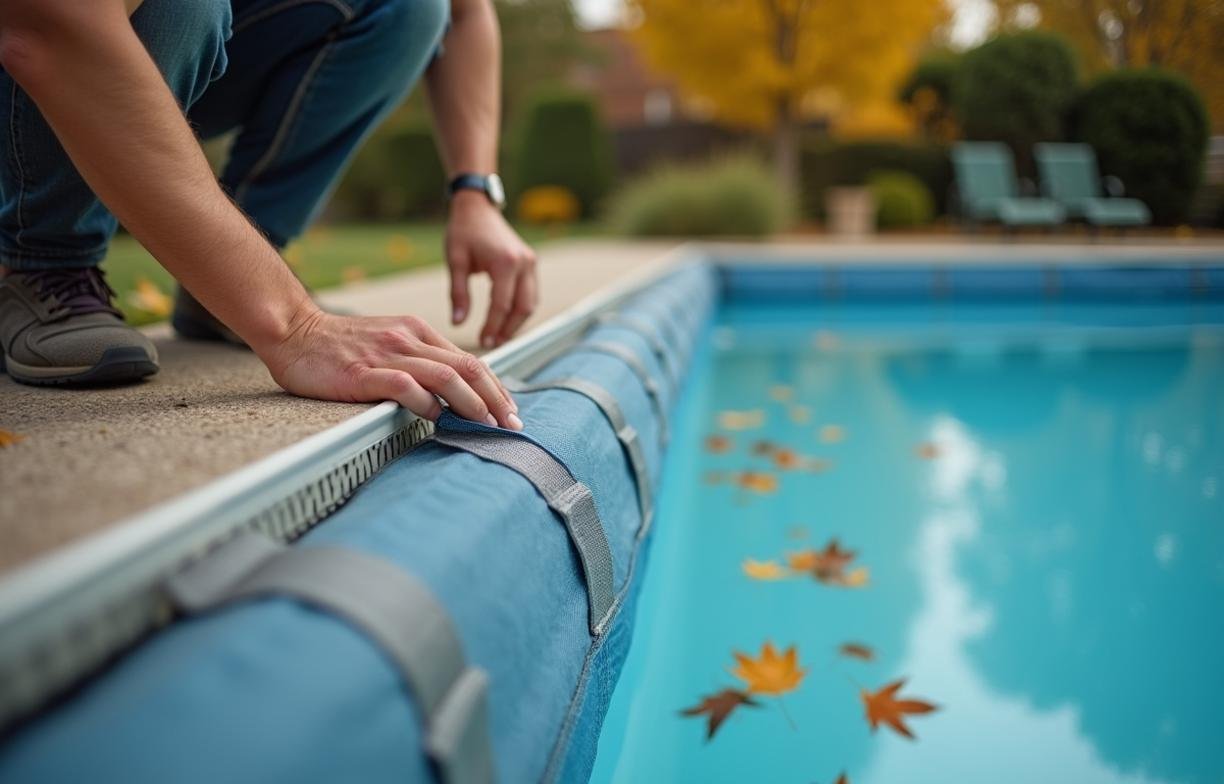
Backyard Pool Closing: Fall Steps We Never Skip
Backyard pool closing is easiest when treated as a sequence rather than a single afternoon chore. Fall weather can move fast, and one skipped step can mean stained plaster, split plumbing, torn covers, or a swampy opening in spring.
We close pools only after the water is balanced, clean, lowered to the right level, and protected from freezing expansion. The order matters because chemicals need circulation time, debris hides algae, and plumbing needs air space before temperatures stay below freezing.
Start when the water is cold enough, not just when the leaves fall
The best closing window is when pool water is consistently below 65°F. Algae growth slows sharply below that point, which gives chlorine and algaecide a better chance to hold through winter. Closing too early, especially while water sits in the 70s, often leads to green water under the cover before Thanksgiving.
The Pool & Hot Tub Alliance, the national trade group behind many pool construction and service standards, recommends maintaining proper sanitizer and water balance before winterizing. That does not mean dumping in shock and immediately covering the pool. It means testing, adjusting, circulating, and then protecting the system.
We like to watch overnight temperatures too. A one-night frost is not the same as a hard freeze. The urgent deadline is when local forecasts show several hours below 32°F and unprotected plumbing still contains water. Above-ground exposed pipes freeze faster than buried lines because air surrounds them on all sides.
If your pool is surrounded by maples, oaks, or pines, timing also depends on debris pressure. A mesh cover can handle rain, but it does not make three inches of wet leaves harmless. Leaf tannins can stain plaster, vinyl, and fiberglass if they sit against the surface for weeks.
Balance the water before the final shock
Water balance is not cosmetic during fall closing. It protects surfaces, metal parts, heaters, ladders, light niches, covers, and liner seams while circulation is off for months.
We test and adjust in this order: total alkalinity, pH, calcium hardness, then sanitizer. The Centers for Disease Control and Prevention lists 7.2 to 7.8 as the proper pH range for treated recreational water, and we aim for the upper-middle of that range at closing because pH can drift over winter.
Target ranges before closing
For most residential pools, total alkalinity should land between 80 and 120 parts per million. Plaster pools often like the higher end. Saltwater pools often run better near the lower-middle of the range because salt chlorine generators can push pH upward during the season.
Calcium hardness should usually sit around 200 to 400 ppm for plaster and concrete pools. Vinyl and fiberglass pools do not need calcium for the surface in the same way, but water that is too soft can still attack metal fittings and heater components. If calcium is already above 500 ppm, do not add more before closing.
Chlorine should be raised after pH is corrected. Many closing kits call for shocking to 10 ppm free chlorine, but that level should be allowed to circulate and partially drop before a vinyl liner is covered. High chlorine trapped against a liner can bleach patterns, especially if undissolved granules settle on the floor.
Why the order matters
High pH makes chlorine less effective. Low alkalinity lets pH swing quickly. Low calcium can make water aggressive toward plaster. High calcium, high pH, and high alkalinity together can create scale, especially on tile lines and heater exchangers.
The Langelier Saturation Index, used in pool water chemistry, estimates whether water will tend to dissolve calcium or deposit scale. You do not need to calculate it by hand, but it explains why “clear water” can still damage a pool. Clear, unbalanced water can be corrosive.
Run the pump for at least 8 to 12 hours after major chemical adjustments. If adding granular shock, pre-dissolve it in a bucket when the product label allows it, and brush the pool floor afterward. Never mix chlorine products with each other, and never add water to chemicals; add chemicals to water.
Clean the pool like you are closing a refrigerator, not a pond
Debris left behind becomes food for algae and bacteria. It also creates organic staining. Oak leaves, acorns, berries, worms, and pine needles all break down under covers, and their acids can sit against the surface for months.
Vacuum the floor slowly enough that fine sediment does not cloud up and resettle. Brush walls, steps, benches, ladders, and the waterline. Algae often starts in low-flow areas, including behind ladders, under wedding-cake steps, and around main drain covers.
Remove skimmer baskets, return eyeballs, cleaner wall fittings, solar cover reels, thermometers, toys, and floating dispensers. A trichlor tablet floater should not be left under a winter cover because concentrated acidic chlorine can bleach liners and corrode metal where it parks.
Clean the filter before closing. Sand filters should be backwashed until the sight glass runs clear, then rinsed. Cartridge filters should be hosed from top to bottom between pleats, not pressure-washed at close range. Diatomaceous earth filters need the grids cleaned and inspected for tears before reassembly.
A replacement cartridge set is often worth buying if pleats are flattened, bands are broken, or pressure rises quickly after cleaning; many residential cartridge sets fall in the $90 to $250 range.
Lower the water to the right level for your cover and pool type
Water level is one of the most common closing mistakes. Too high, and water can enter skimmers and freeze. Too low, and covers can sag, liners can shift, and hydrostatic pressure can become a problem in wet soil.
For mesh safety covers, lower the water about 12 to 18 inches below the coping, unless the cover manufacturer gives a different number. Rain and snowmelt pass through mesh, so the pool level will rise through winter. If the water reaches the tile line during January thaw, pump it down before the next freeze.
For solid safety covers, lower the water only as much as needed to protect the skimmer and returns, often 3 to 6 inches below the skimmer opening. Solid covers need a cover pump because rain cannot drain through. Too much air space below a solid cover can put extra strain on springs and anchors.
Vinyl liner pools should not be drained far below the shallow-end floor. Water weight holds the liner in place. In areas with a high water table, lowering too much can let a liner float or wrinkle when groundwater rises after heavy rain.
Fiberglass shells also dislike aggressive draining. Manufacturers commonly warn against emptying fiberglass pools without professional support because groundwater can lift the shell. If you have a hydrostatic relief valve, know where it is and whether it has been serviced.
Blow out and plug the plumbing before freezing weather
Water expands about 9 percent when it freezes, according to the U.S. Geological Survey’s explanation of water density and ice formation. That expansion is enough to crack PVC fittings, heater headers, pump lids, chlorinator housings, and filter tanks.
The goal is not just to drain visible equipment. Underground lines need air blown through them until each return, skimmer, cleaner line, and water feature line spits air. Then the line is plugged while air pressure is still holding water back.
Equipment that must be drained
Open the pump drain plugs and store them in the pump basket. Remove filter drain plugs. Drain the heater, chlorinator, check valves, booster pump, and any unioned low points. If the heater has a pressure switch or internal bypass, follow the manufacturer’s manual rather than guessing from the outside.
Cartridge and DE filters often hold water in lower chambers even after the main drain plug is removed. Tilt small filter tanks slightly if the manual allows it. Multiport valves on sand filters should be set between positions or on “winterize” if that setting exists.
Salt chlorine generators need special attention. Remove and inspect the cell. If scale is visible, clean it only with the acid strength and soak time listed by the manufacturer. Over-acid washing shortens cell life by stripping coating from the plates.
Air, plugs, and antifreeze
Most residential closings use a blower or a high-volume shop vacuum, not a tire compressor. Pool lines need volume more than extreme pressure. Excess pressure can damage valves and fittings before it clears the line.
Threaded winter plugs should be snug, not crushed. Rubber expansion plugs should compress evenly. For skimmers, many techs use a gizmo, which is a hollow plastic device that threads into the skimmer and absorbs some ice expansion. It also seals the suction line.
Pool antifreeze is optional in many properly blown lines, but helpful for skimmers and low spots that cannot fully drain. Use only non-toxic propylene glycol pool antifreeze, never automotive antifreeze. One gallon per skimmer is a common residential dose when the skimmer line has already been blown clear.
Choose the closing method that fits your pool and risk level
Not every pool needs the same approach. The right option depends on freezing risk, cover type, plumbing complexity, trees, and whether you can monitor the pool during winter.
| Situation | Best fit | Conditions that make it work |
|---|---|---|
| Mild climate with rare freezes | Partial winterizing | Water is maintained monthly, pump can run during freeze alerts, plumbing is not exposed for long periods |
| Cold climate with simple plumbing | Full DIY closing | You can identify every suction and return line, blow lines properly, and install the cover safely |
| Cold climate with heater, spa, water features, or automation | Professional closing | Multiple valves, check valves, raised spas, blowers, heaters, or equipment below pool level |
| Heavy leaf area with mesh cover | Early clean plus later leaf removal | Water is below 65°F, cover is installed before peak leaf drop, and leaves are cleared weekly |
| Vinyl liner with high groundwater | Conservative water lowering | Water stays high enough to support the liner, and skimmer protection is handled with plugs or gizmos |
A DIY closing fits best when the equipment pad is simple: one pump, one filter, one skimmer, two or three returns, and no heater. If you know which valve controls which line, you can verify air at every endpoint.
A professional closing makes more sense when there is attached spa plumbing, a gas heater, a heat pump, deck jets, laminars, a slide, an in-floor cleaning system, or automation actuators. Those systems can trap water in loops that are not obvious from the equipment pad.
A typical professional residential closing often runs $250 to $600, depending on region, pool size, cover handling, and extra features.
Install the cover so it can survive wind, snow, and water
The cover is not just a lid. It is a winter load-management system. Safety covers are built to meet ASTM F1346, the standard performance specification for pool safety covers. That standard addresses labeling, load, and opening limitations for covers sold as safety covers.
Mesh safety covers should be tight enough that the center panel does not sit on the pool water at installation. Springs usually compress about halfway when tensioned correctly, though exact tension depends on the manufacturer. Straps should run straight, not at sharp angles that chew the fabric edge.
Solid safety covers need a working cover pump placed where water naturally collects. Check the pump intake after storms because leaves can block it. If water builds several inches deep, the weight can stretch fabric and overwork anchors.
Water bag covers are different. Bags should be filled about two-thirds full, leaving room for ice expansion. Do not use bricks, blocks, or patio stones to hold a tarp. If the cover falls in, hard weights can follow it into the pool and damage the liner or finish.
Above-ground pools need an air pillow in many freezing climates. The pillow is not meant to hold the cover above all water. It creates a weak point in the ice sheet, helping reduce outward pressure against the walls. Tie it loosely so it can shift as ice moves.
Set a winter check schedule before you walk away
Closing day is not the last pool day. A covered pool still needs quick checks after storms, deep freezes, and warm spells.
Look at the water level every 3 to 4 weeks. Mesh-covered pools may need water pumped down after heavy rain. Solid-covered pools need water pumped off the cover instead. In both cases, keep the level high enough to support the cover according to the manufacturer’s instructions.
Check anchors, straps, springs, and seams after wind events. One loose corner can turn into a ripped panel. For water bag covers, replace leaking bags before the cover slides into the pool.
If fall stays warm after closing, test sanitizer once before hard winter. A small chlorine boost may be needed if water remains above 65°F for more than a week. Pulling back one cover corner carefully is better than discovering black algae at opening.
Store plugs, baskets, return fittings, pressure gauges, ladders, handrails, and cleaner parts in one labeled bin. Leave equipment drain plugs out for winter so trapped condensation can escape. A missing $8 plug in spring is annoying; a cracked pump housing is worse.